Last updated October 30, 2026
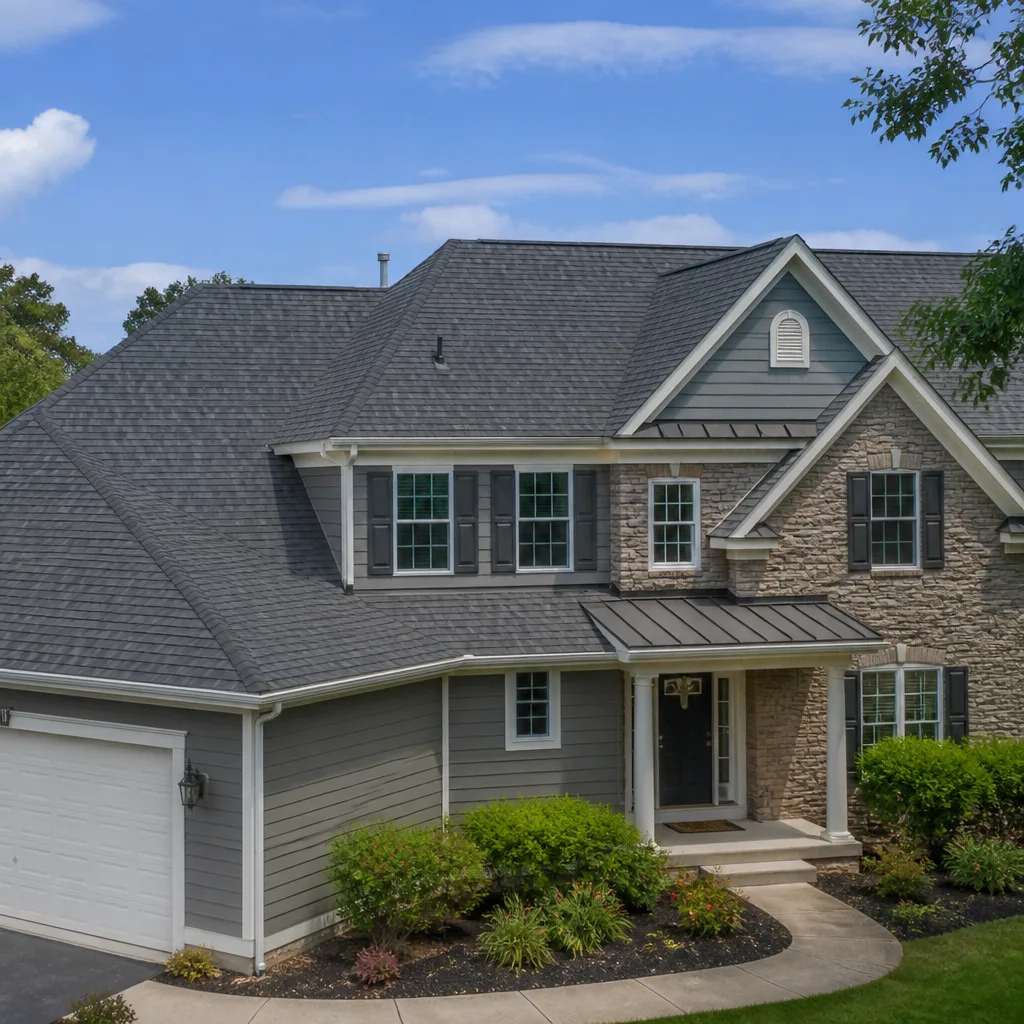
 Architectural shingles
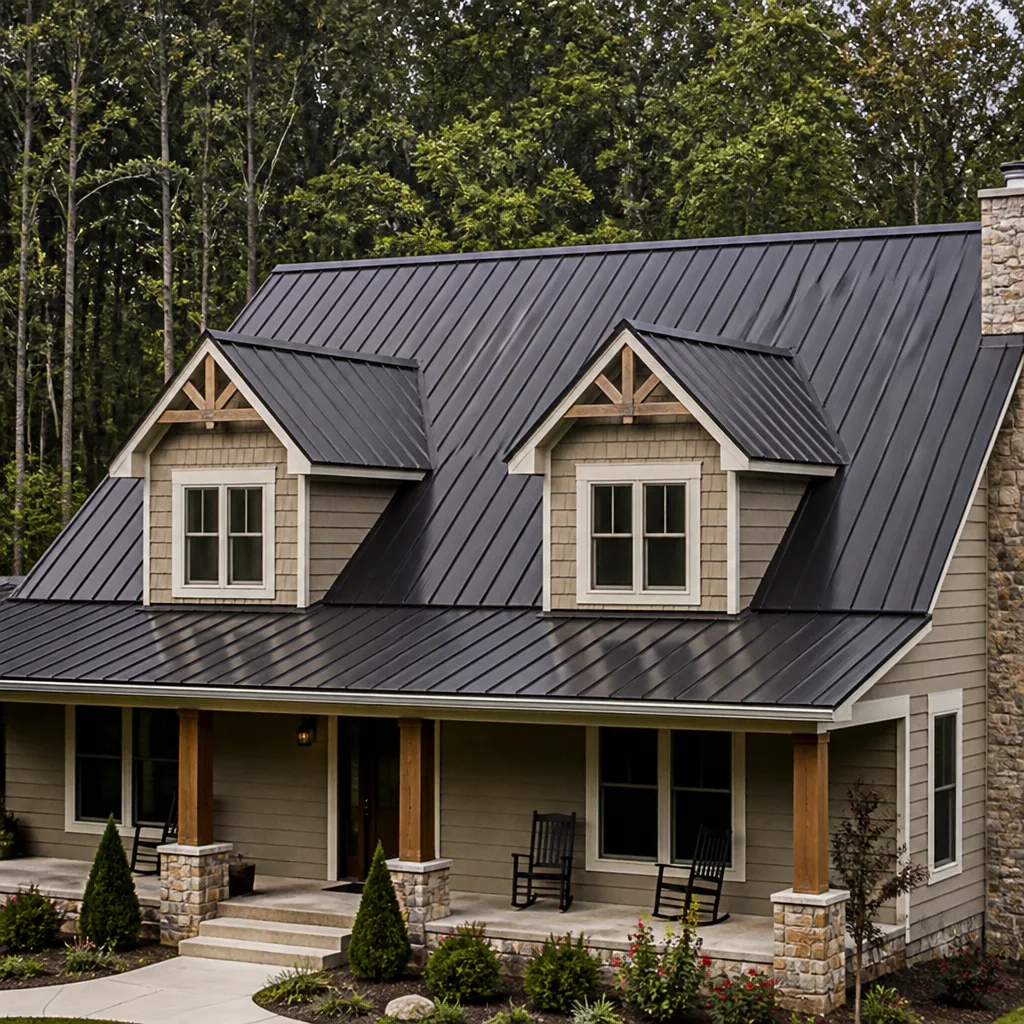 Metal roofing
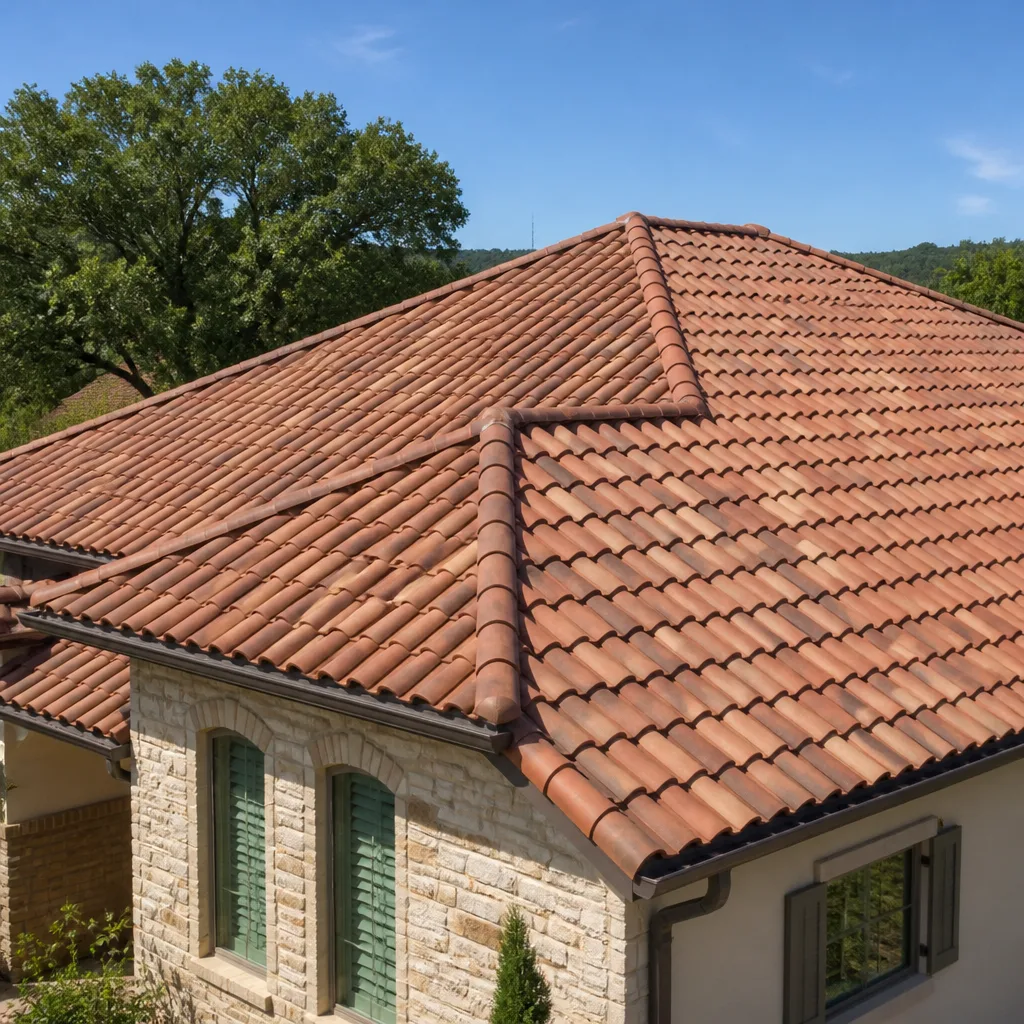 Tile roofing
 GAF
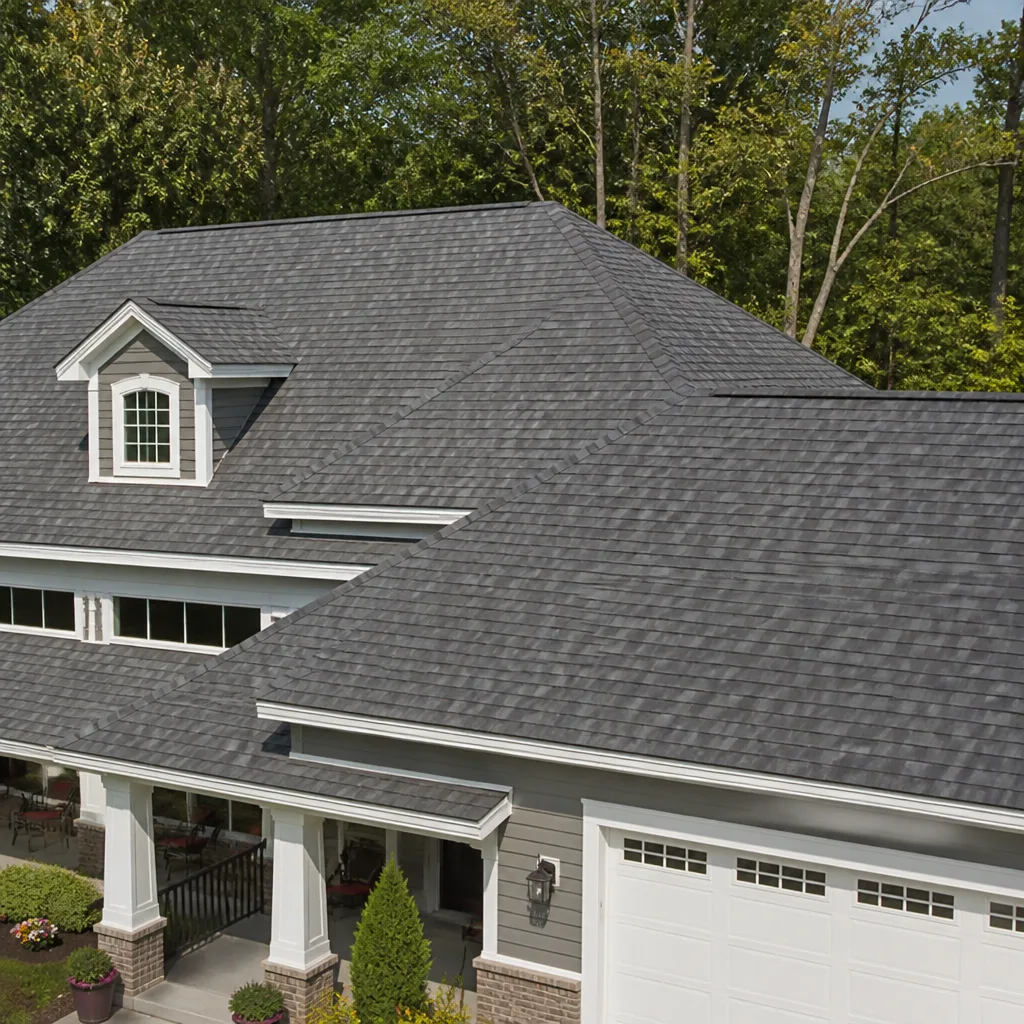 Owens Corning
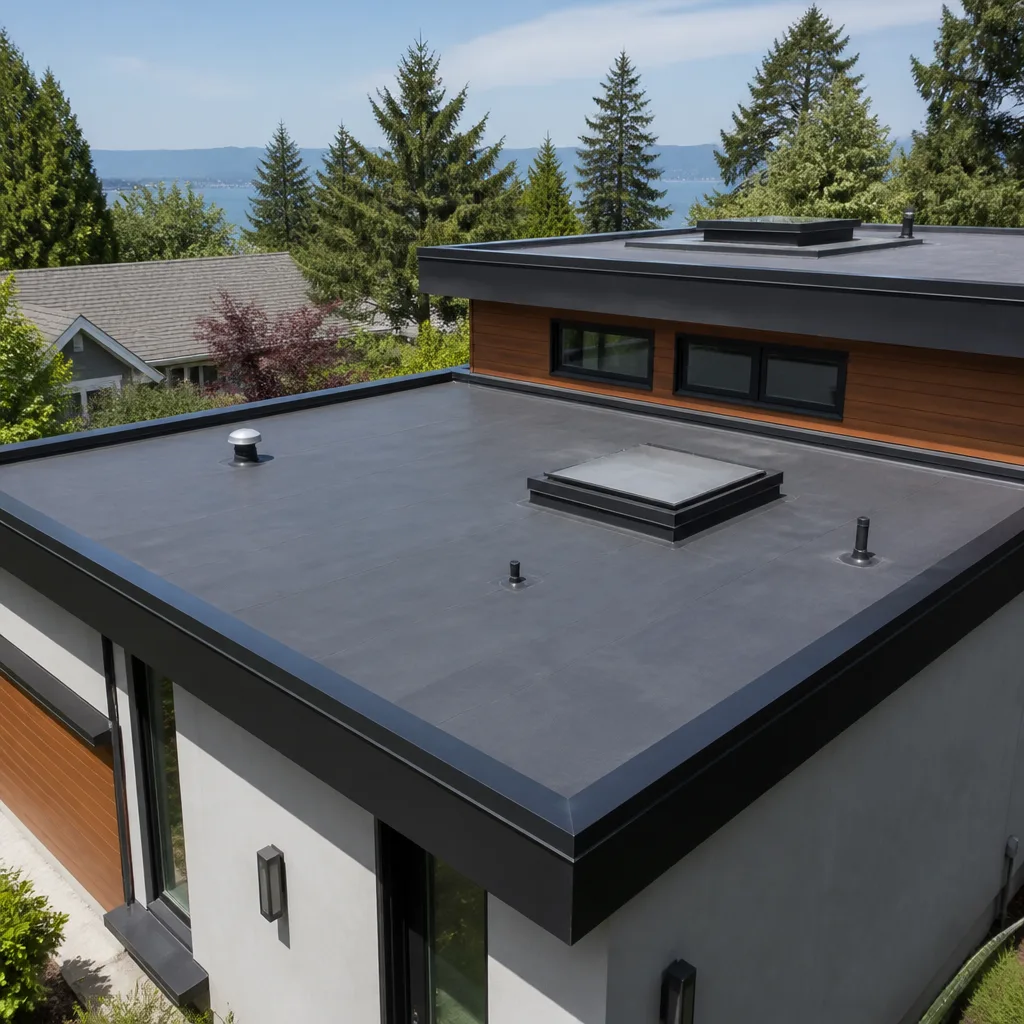 Flat & low-slope
Free roof inspection with deck photos before we talk money - GAF and Owens Corning certified installation
Roof Repair Troubleshooting: Common Problems and How to Fix Them
The ceiling stain in your bedroom is almost never directly below the leak entry point. Water travels along rafters, sheathing seams, and insulation batts before it drops, and fixing where it drips leaves the real breach open. In Irvine, where we get roughly 12 inches of rain a year, that first stain can be five months old by the time it shows up on drywall. This guide teaches the diagnostic sequence experienced roofers use, so your repair targets the source instead of the symptom. By the end, you’ll know how to read six specific failure signatures, distinguish flashing failure from shingle failure, and decide whether a spot repair is worth your money.
Quick Answer
Roof repair troubleshooting starts with tracing water’s path from interior evidence back to the exterior breach, which is typically two to six feet uphill and lateral from where it drips. Most common problems fall into five categories: failed flashing, damaged or aged shingles, compromised sealant at penetrations, ventilation-driven condensation, and structural decking rot. The majority of these can be confirmed with a systematic hose test, and most flashing and shingle issues are repairable without a full replacement when caught early.
Styles & brands we work with
Table of Contents
- The Upstream-Trace Method: Working Backward from the Stain
- Six Failure Signatures and What Each One Indicates
- Flashing Failure vs. Shingle Failure: Same Ceiling Stain, Different Repair
- The Hose Test Protocol: Isolating Leak Zones Without Rain
- Ventilation and Condensation: Leaks That Aren’t Leaks
- Three Structural Red Flags That Make Spot Repair a Waste of Money
- What Roof Repairs Cost in Irvine
- Common Mistakes to Avoid
- When to Call a Professional
The Upstream-Trace Method: Working Backward from the Stain
Every roof leak has an entry point and an exit point, and they rarely line up. Water enters through a breached shingle, a failed pipe boot, or a lifted flashing seam, then runs along the top of the underlayment until it finds a joint in the plywood sheathing. From there it follows the rafter, soaks into insulation, and eventually saturates drywall at the lowest point of resistance. The result: a stain that appears six feet downhill from where the water actually got in.
Here’s the sequence we use on every troubleshooting inspection in Irvine:
- Mark the interior stain. Place blue painter’s tape at the widest point of the ceiling stain. This is your evidence anchor.
- Measure the distance. From the stain, measure to the nearest exterior wall. Note whether the wall faces the prevailing wind direction. In Irvine, winter storms blow primarily from the southwest, which means wind-driven rain pushes under shingles and flashing on south- and west-facing slopes more often than north-facing ones.
- Estimate the rafter slope. Most Irvine homes built after 1980 have roof pitches between 4:12 and 6:12. On a 4:12 pitch, water travels slowly and spreads wide. On a 6:12 pitch, it channels faster and runs straighter downhill.
- Extrapolate the entry zone. Move from the stain edge a minimum of two feet uphill along the rafter line, and up to six feet if the insulation is thick or the pitch is shallow. This is your search zone in the attic.
- Inspect the attic at that zone before touching the roof. Look for daylight pinholes, darkened wood, or mineral staining on the sheathing underside. The sheathing tells you more than the shingles ever will.
Most homeowners skip the attic step. That’s the mistake. The attic is where the roof tells the truth. Shingles can look intact from the outside while the sheathing below is rotting. We’ve crawled through attics in Irvine neighborhoods like Woodbridge and Northwood where the exterior shingles looked ten years old, but the decking showed water staining that predated the current layer. Knowing the angle and the prevailing wind direction cuts the search time by more than half.
Six Failure Signatures and What Each One Indicates
Roof failures don’t announce themselves. They leave signatures, and most of them are visible long before the ceiling shows damage. Here are the six we look for on every roof inspection, and what each one means for repair scope.
1. Bubbling Paint on Eaves or Soffits
Bubbled or peeling paint on the underside of the eave means water is wicking through the soffit or traveling behind the fascia board. This is almost always a gutter or drip-edge problem, not a shingle problem. When water pours over the back of a clogged gutter, it climbs the fascia by capillary action and migrates under the paint film. The repair is usually gutter maintenance plus reseating or replacing the drip edge, at a fraction of what a shingle repair costs.
2. Daylight Pinpoints in the Attic
Turn off the attic light and look up. If you see pinholes of daylight through the sheathing, you’re looking at physical breaches: missing shingle tabs, nail holes that lost their sealant, or cracked plywood joints. Each pinpoint is an entry point. In Irvine’s hot summer months, these are also where the attic draws in superheated outside air, raising cooling costs even when it doesn’t rain. Spot sealing works if pinholes are isolated; if you count more than a dozen across a single slope, you’re looking at shingle replacement on that plane.
3. Granule Accumulation in Gutters
Roofing granules are the shingle’s UV armor. When they start shedding, the asphalt below oxidizes and cracks. A gutter full of granules after a light rain is not normal aging; it’s a slope-by-slope signal that the shingle surface is failing. Check whether granules are coming from one side only. Uniform granule loss suggests the roof has reached its functional age. Asymmetrical granule loss, concentrated on a south- or west-facing plane in Irvine, suggests accelerated UV degradation on the sun-baked exposure and may allow for partial slope replacement rather than full.
4. Soft Decking Along the Ridge or Valleys
If you can feel the roof deck deflect underfoot, or if the sheathing around valleys and ridges feels spongy when probed, the plywood or OSB is saturated and losing structural integrity. This is not a tear-off-later situation; this is a repair-now situation. Soft decking along a valley means the valley flashing has been compromised long enough to rot the substrate. The repair involves pulling shingles, replacing the affected sheathing section, and reinstalling the valley metal or membrane, followed by replacing the surrounding shingles.
5. Efflorescence on Fascia Boards
That white, chalky deposit on fascia or rafter tails is efflorescence, left behind when water evaporates from masonry or wood that has been repeatedly soaked. It means the wood or mortar is cycling through wet and dry states, which is a slow-motion structural failure. On wood fascia, it usually points to a failed kick-out flashing at a roof-to-wall junction. Water exits the roof plane at the wall, misses the gutter, and saturates the fascia. The fix is a properly installed kick-out diverter, not another bead of caulk.
6. Ridge Sagging
A ridge line that dips between rafters indicates decking failure along the ridge beam or inadequate rafter support. This is the most serious of the six signatures. Ridge sagging often appears after years of slow ridge vent leaks or ice damming, and it means the roof structure itself is compromised. Spot repair won’t address it. The ridge sheathing typically needs sectioned replacement, and in some cases, rafter reinforcement before new shingles go down. If you see this, get a structural assessment before any cosmetic work.
Flashing Failure vs. Shingle Failure: Same Ceiling Stain, Different Repair
Homeowners tend to assume shingles first. In our experience in Irvine, flashing failures are the more common source of active leaks on roofs under fifteen years old. The two present near-identically at the ceiling, but the repairs are completely different, and doing the wrong one means doing it again next winter.
Flashing failure shows up at transition points: where the roof meets a wall, where a chimney penetrates, around skylights, at valley intersections, and where plumbing vent pipes come through. These are metal or membrane junctions that bridge two different materials or two different slopes. When they fail, water enters at the junction, not through the shingle field. The repair involves removing the surrounding shingles, replacing or re-seating the flashing, and reinstalling. The shingles themselves might be in fine shape.
Shingle failure shows up in the field: missing tabs, curling edges, torn shingles from wind, or widespread granule loss. Shingle failures let water through the actual roofing surface, usually across a broad area rather than a discrete point. The repair requires replacing the damaged shingles and often the underlayment beneath them.
Here’s how to tell them apart from inside the attic:
- Water staining broad and diffuse across a slope suggests shingle or underlayment failure.
- Water staining localized at a single rafter near a penetration or wall junction suggests flashing failure.
- Staining that appears above a window or door header on an exterior wall suggests head flashing or step flashing failure at that wall section.
- Staining centered on a valley line suggests valley flashing or valley shingle damage.
The practical takeaway: if your leak is near a wall, chimney, skylight, or pipe, expect flashing work. If your leak is in the middle of a slope with no penetrations nearby, expect shingle work. Both are repairable without a full roof replacement when the damage is localized.
The Hose Test Protocol: Isolating Leak Zones Without Rain
Irvine gets rain in concentrated bursts, and waiting for the next storm to confirm a leak diagnosis is a poor strategy. Roofers use a controlled hose test instead. The sequence matters, because water applied too high or too fast produces false negatives and false positives. Here’s the protocol we run:
- Start at the lowest point of the suspected slope. Have one person in the attic with a flashlight watching the suspect sheathing area, and one person on the roof with a garden hose. Do not use a pressure nozzle. Let the water flow under normal hose pressure.
- Wet the area just above the eave line for five minutes. This tests the drip edge and starter shingle junction. Many leaks that look like they come from mid-slope actually enter at the eave and travel up by capillary action.
- Move up in two-foot increments. Hold the hose at each elevation for five minutes before moving higher. The attic observer should be watching for the first sign of water penetration, not just drips. Discoloration, wet sheen, or a sudden increase in humidity in that zone counts.
- Test each penetration separately. Pipe boots, vents, skylights, and chimneys each get their own five-minute soak, focusing on the uphill side where water actually runs into the junction.
- Do not flood the ridge on a test. Water applied at the ridge runs over every seam and flashing point below, so it can’t tell you where the breach is. If the slope above a suspect area must be tested, test it after the lower zones are cleared.
One more thing: this test works best when the roof is dry. If you run it on an already-saturated roof, water may not show up in the attic for thirty minutes or more, and you’ll misattribute the source. We run hose tests on Irvine roofs primarily from April through October, when there’s enough dry weather to make the results meaningful.
Ventilation and Condensation: Leaks That Aren’t Leaks
Some roof “leaks” never involve a breach in the roofing surface at all. Condensation and ventilation-driven moisture account for a meaningful share of the ceiling stains we troubleshoot in Irvine, particularly in older homes with insulation added after construction.
Here’s what happens: warm, humid air rises from the living space into the attic, especially in bathrooms and kitchens that vent into the attic rather than through the roof. When that air hits the underside of the roof sheathing on a cool morning, it condenses into water droplets. Those droplets accumulate, run down the slope, and produce damp insulation and stained ceilings. The homeowner calls it a leak. The roof is actually dry.
Signs you’re dealing with condensation rather than an active roof breach:
- Staining appears during cold snaps or right after humid indoor activity. If the stain appears in November or February in Irvine, not after a specific rainstorm, think condensation first.
- Multiple stains across unrelated slopes. Roof breaches produce localized patterns. Condensation produces more diffuse, evenly distributed dampness.
- The attic smells musty regardless of recent weather. Persistent attic humidity is a ventilation issue.
- Daylight inspection shows no breaches. A clean sheathing surface with no pinholes, cracks, or missing shingles points away from a physical leak.
The repair for condensation is different from the repair for a breach. It involves redirecting bathroom and kitchen exhaust fans through the roof, adding or balancing intake and exhaust ventilation, and sometimes air-sealing the attic floor to stop conditioned air from rising. We’ve seen Irvine homeowners replace perfectly good shingles because a bathroom fan was venting into the attic, and the “roof leak” was actually warm shower steam. The right diagnosis saves thousands.
Three Structural Red Flags That Make Spot Repair a Waste of Money
Most roof problems are repairable. Some aren’t. Here are the three conditions we look for that signal when patching is no longer a sound investment.
1. Widespread Sheathing Delamination
When water has been entering through a failed roof surface for years, the plywood or OSB decking beneath begins to delaminate, meaning the layers of the wood panel separate. You’ll see swollen edges, wavy surfaces, or panels that crumble when probed. If delamination affects more than about a third of a given slope, spot repair means cutting out and replacing that decking anyway, and at that point, the shingles above it are coming off regardless. A full slope or full roof replacement often costs the same as piecemeal decking repair.
2. Rafter or Truss Deflection
If a rafter has sagged or a truss member has bowed, the roof’s load path is compromised. Climbing up and nailing new shingles to a deflected structure doesn’t fix the structure. In Irvine, where many homes in neighborhoods like Turtle Rock and University Park were built in the 1970s and 1980s, rafter deflection often follows decades of intermittent moisture and thermal cycling. The repair scope goes beyond roofing: sister rafters, truss reinforcement, or even beam replacement, followed by roof replacement.
3. Multiple Repair Layers Already Present
California building code allows re-roofing over a single layer of existing shingles in some cases, but not over two. If your roof already has two layers, or a patchwork of repairs from multiple prior owners, tear-off is the only compliant path. Re-roofing over poor decking or multiple shingle layers doesn’t just mask existing issues, it adds weight to a structure that may not be rated for it. In this case, replacement is not an upsell; it’s the correct repair.
If your troubleshooting inspection surfaces any of these three conditions, stop spending on patches. The roof is telling you it has reached the end of its service life, and the honest recommendation is a full roof replacement. The repair-first philosophy means we won’t recommend that unless the evidence supports it, but when it does, delaying makes everything underneath the roof more expensive to restore.
What Roof Repairs Cost in Irvine
Repair pricing in Irvine tracks with the size of the affected area, the accessibility of the slope, and the material brand on your roof. Here are the ranges we see across Orange County, including Irvine’s steeper hillside lots where access adds labor:
| Repair Type | Typical Range in Irvine | What It Includes |
|---|---|---|
| Shingle tab replacement (3-5 tabs) | $150 – $400 | Match-and-replace of missing or torn tabs, sealant |
| Flashing repair at one penetration | $300 – $700 | Remove surrounding shingles, replace or reseat flashing, reinstall |
| Valley flashing repair | $500 – $1,200 | Pull valley shingles, replace flashing membrane, reinstall |
| Pipe boot replacement | $200 – $450 | Remove old boot, install new collar, seal and flash |
| Small decking patch (under 20 sq ft) | $400 – $800 | Cut out rotted sheathing, install new plywood, re-shingle |
| Full slope shingle replacement | $1,200 – $3,500 | Strip and re-shingle one roof plane, new underlayment |
Material choice affects these numbers. GAF, CertainTeed, Owens Corning, and Tamko all have product lines that vary in cost per square. If you have a premium CertainTeed shingle, a patch using the same brand’s matched line costs more but preserves your manufacturer warranty and appearance. If you’re willing to accept a close color match from a different brand, the repair can cost less. We work with the brand that’s on your roof and can usually match it without a full re-order.
For a specific quote, call (866) 650-8319. Estimates are free, and we provide written line-item breakdowns so you can see exactly what you’re paying for.
Common Mistakes to Avoid
- Caulking over a leak from inside the attic. Sealant applied from the inside never works, because water pressure pushes it out. The fix has to happen on the exterior side of the breach. We see this all over Irvine, where a quick caulk job in November becomes a mold problem by February.
- Assuming the stain marks the leak. As covered above, water travels laterally. Seal the stain’s exterior counterpart and the real breach keeps running. Always trace the rafter and sheathing path back to entry.
- Ignoring granule loss in gutters. Granules in the gutter are an early warning, not a curiosity. Waiting until the shingles crack to act turns a slope repair into a full replacement. Check your gutters in Irvine after the first fall wind, not after the first spring rain.
- Using a pressure washer on a shingle roof. Pressure washing strips granules and cuts years off shingle life. If your Irvine roof has moss or staining, use a low-pressure wash with a roof-safe cleaner, or have a professional handle it.
- Replacing shingles without checking the decking underneath. If the sheathing below is soft, new shingles nail into a weak substrate and fail early. A proper repair checks the decking before the first shingle goes down.
- Waiting for a second leak to confirm the first. One ceiling stain is enough evidence. The second leak usually brings insulation damage and drywall replacement. Early repair is always cheaper than the cascade.
When to Call a Professional
You should call a professional roofer if you see any of these: active water entry during or after rain, soft or sagging decking, visible daylight from inside the attic, granule accumulation in multiple gutters, or efflorescence on your fascia boards. These are not cosmetic issues. Each one indicates a failure that is actively working against your roof’s structure. Also call if the hose test is inconclusive but the leak persists, or if you feel uncomfortable accessing your roof safely. Roofs in Irvine’s hillside areas can have steep pitches and limited access, and a fall from a two-story eave is not worth the diagnostic savings. Gable Roof Repair offers free estimates in Irvine, and we’re glad to diagnose the problem whether or not you hire us for the fix. Call (866) 650-8319 to schedule a troubleshooting visit, or start with a standalone roof inspection if you want a full picture before committing to any repair scope.
See the difference
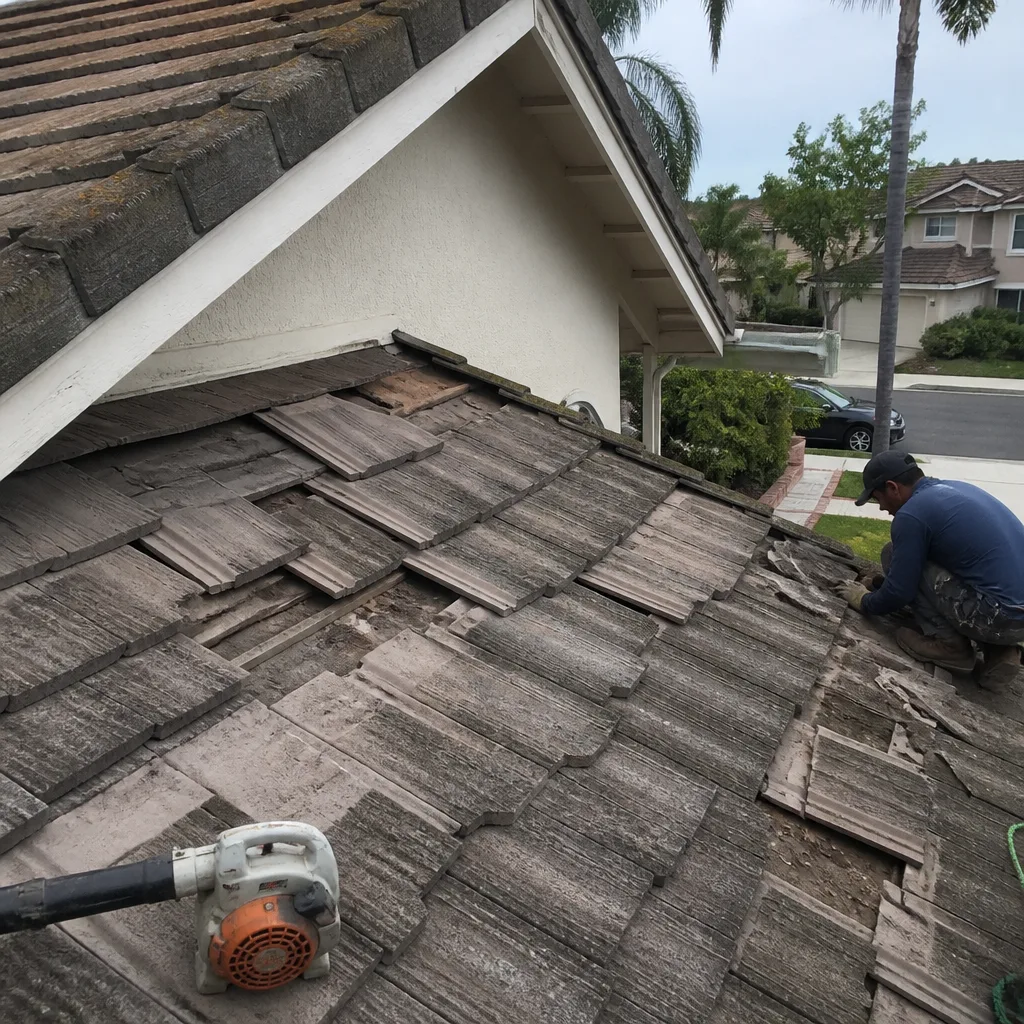 Before
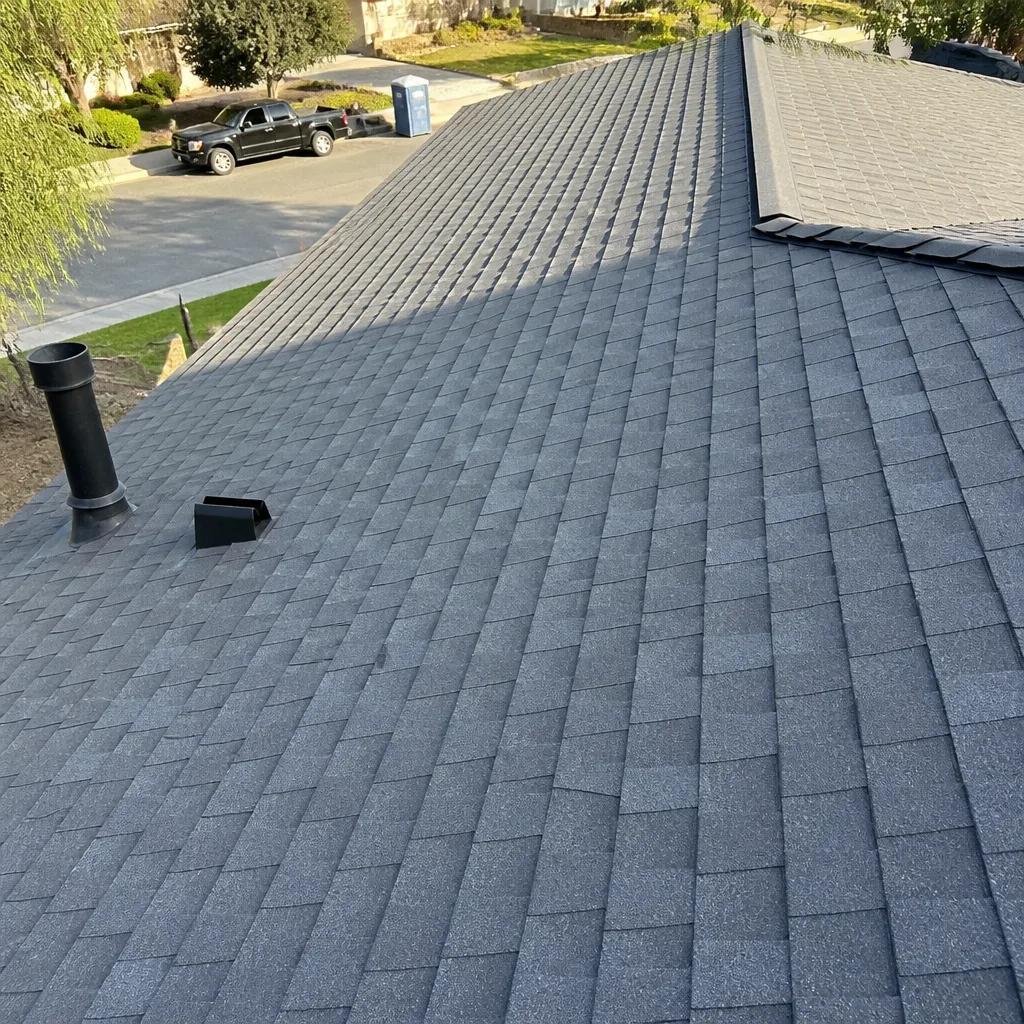 After
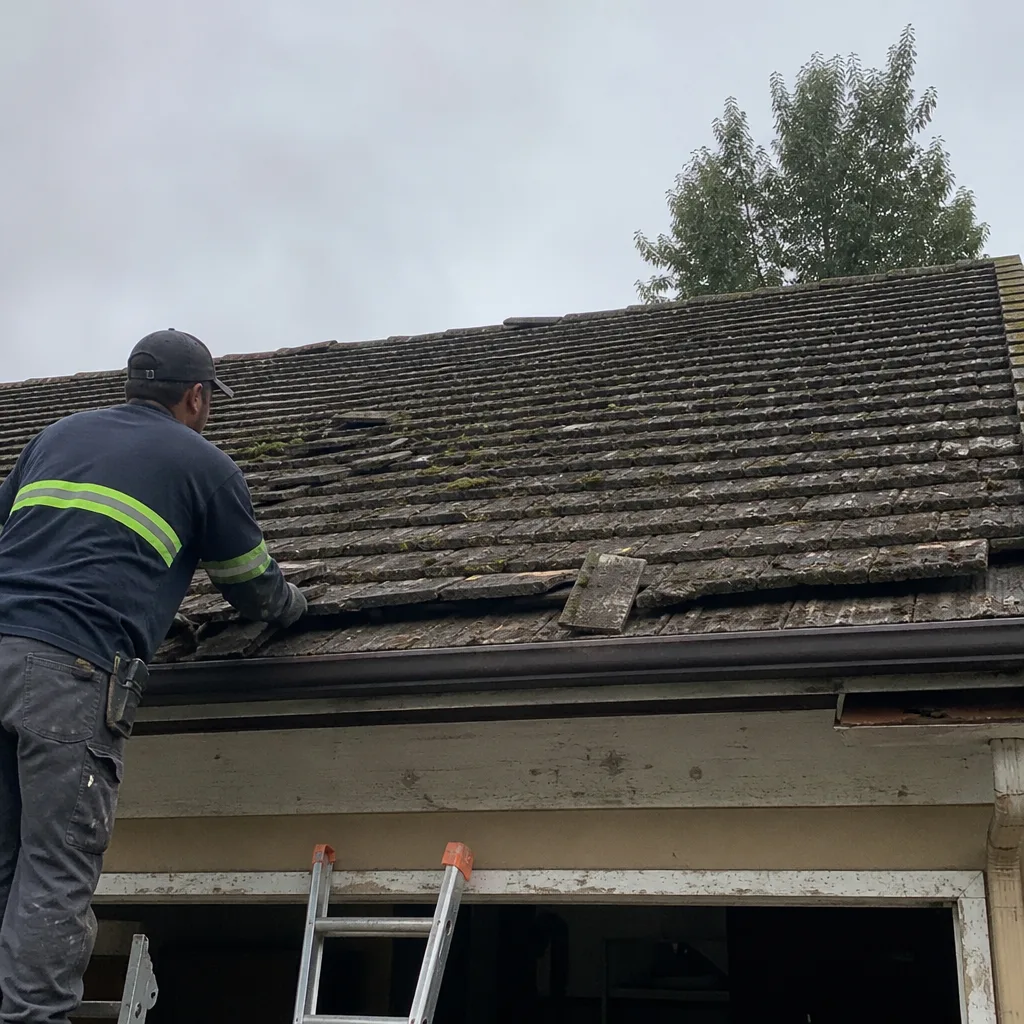 Before
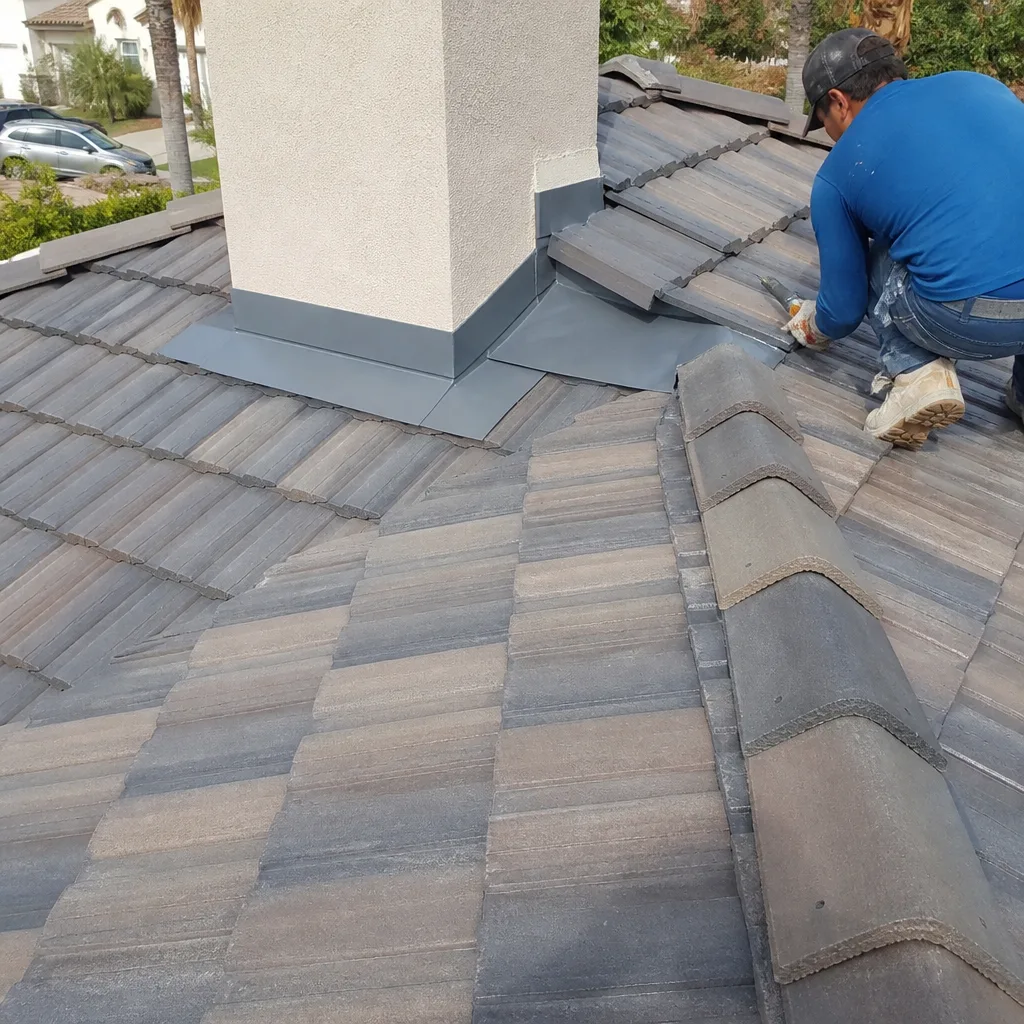 After
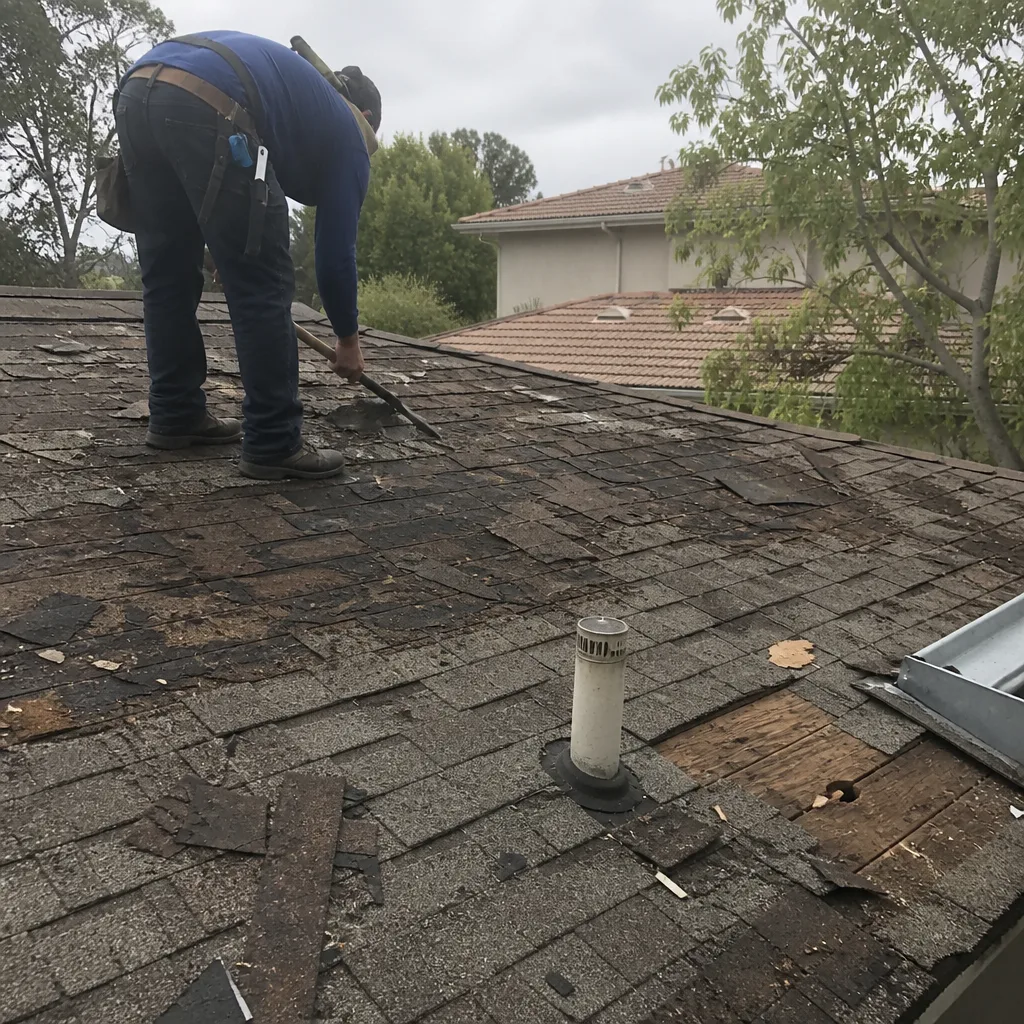 Before
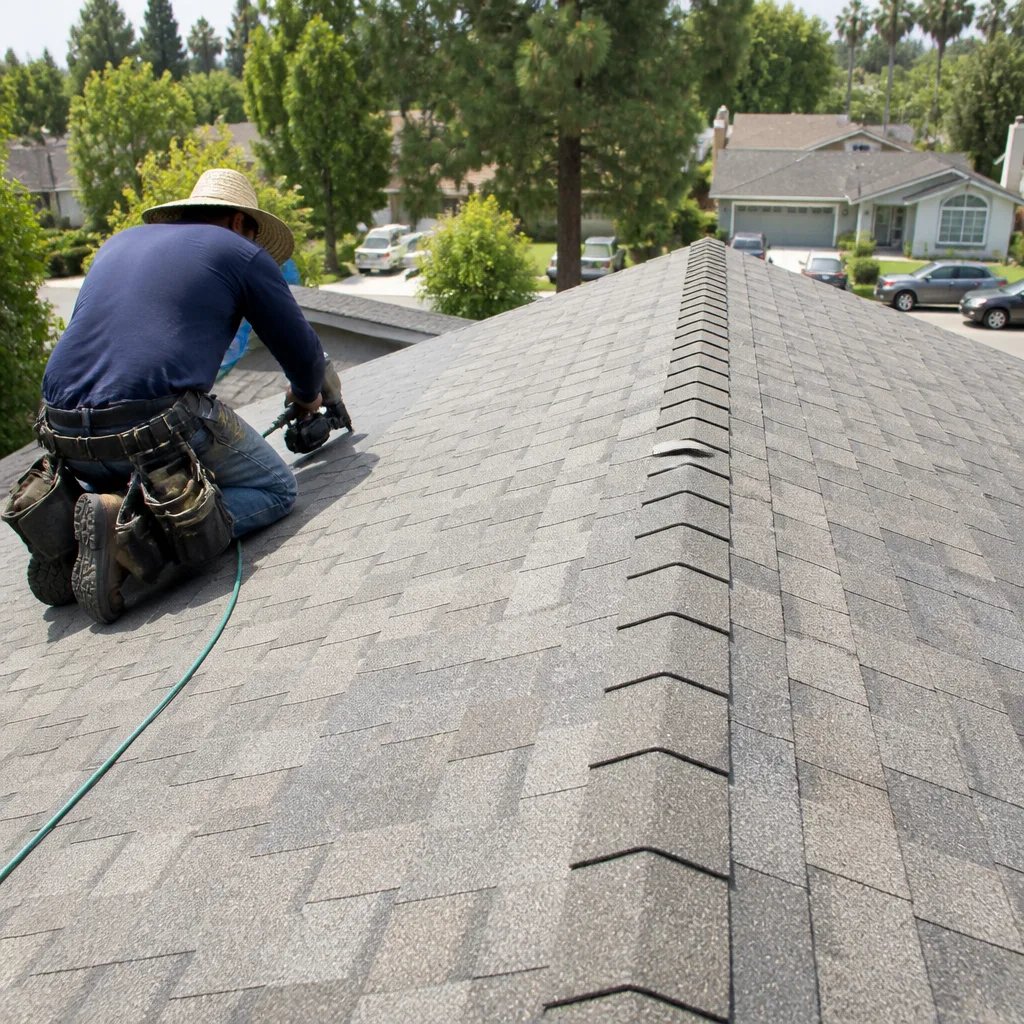 After
Frequently Asked Questions
Start at the interior stain and move uphill along the rafter line two to six feet to find the actual entry point. Check the attic sheathing at that zone for daylight pinholes, water staining, or soft wood before looking at shingles. If the weather is dry in Irvine, use the controlled hose test to confirm the entry zone without rainfall.
A typical roof leak repair in Irvine costs between $150 and $1,200 depending on whether it’s a shingle tab, a flashing seam, or a valley junction. Simple tab replacements and pipe boot changes are on the low end; flashing and valley work run higher. Call (866) 650-8319 for an exact quote, because hillside access and material matching both affect the final number.
Yes, most roof problems are repairable without a full replacement when the damage is localized. The exceptions are widespread decking rot, structural rafter deflection, and roofs that already have two shingle layers, which make spot repair a temporary fix at best. A roof repair assessment will tell you which category your roof falls into.
If your ceiling stain appears without rainfall, it’s usually condensation from attic ventilation problems, a plumbing leak in the attic, or an air conditioning condensate line that’s draining against the sheathing. Ventilation-driven moisture is common in Irvine’s older neighborhoods where bathroom fans vent into the attic. A roof inspection can isolate the moisture source.
Small repairs like shingle tabs and pipe boots are typically completed in one to three hours. Flashing and valley work on accessible slopes takes half a day to a full day, and jobs involving decking replacement can take one to two days including material pickup. Weather in Irvine permits repairs most of the year except during active rain events, when we pause work to avoid compromised seals.
Yes. We work with GAF, CertainTeed, Owens Corning, IKO, Atlas, Tamko, and Boral materials, which means we match your existing shingle brand and color rather than installing whatever’s on the truck. Brand matching matters for both appearance and manufacturer warranty coverage. If your roof’s exact color has been discontinued, we’ll source the closest current production match from the same or a compatible line.
The Bottom Line
Roof troubleshooting is a sequencing problem. Start at the interior evidence, trace the water path back to the entry point, and verify with a controlled test before you approve any repair. The six failure signatures we covered, from bubbling eaves to ridge sagging, each point to a different repair scope, and knowing which one you’re looking at changes the cost and the urgency. Most roofs don’t need replacement when the problem is caught early, and the homeowners who save the most money in Irvine are the ones who scheduled a roof inspection at the first granule, the first pinprick of daylight, or the first water stain. For a free estimate and a written line-item quote, call Gable Roof Repair at (866) 650-8319.
Written by the team at Gable Roof Repair, serving Irvine since 2016.